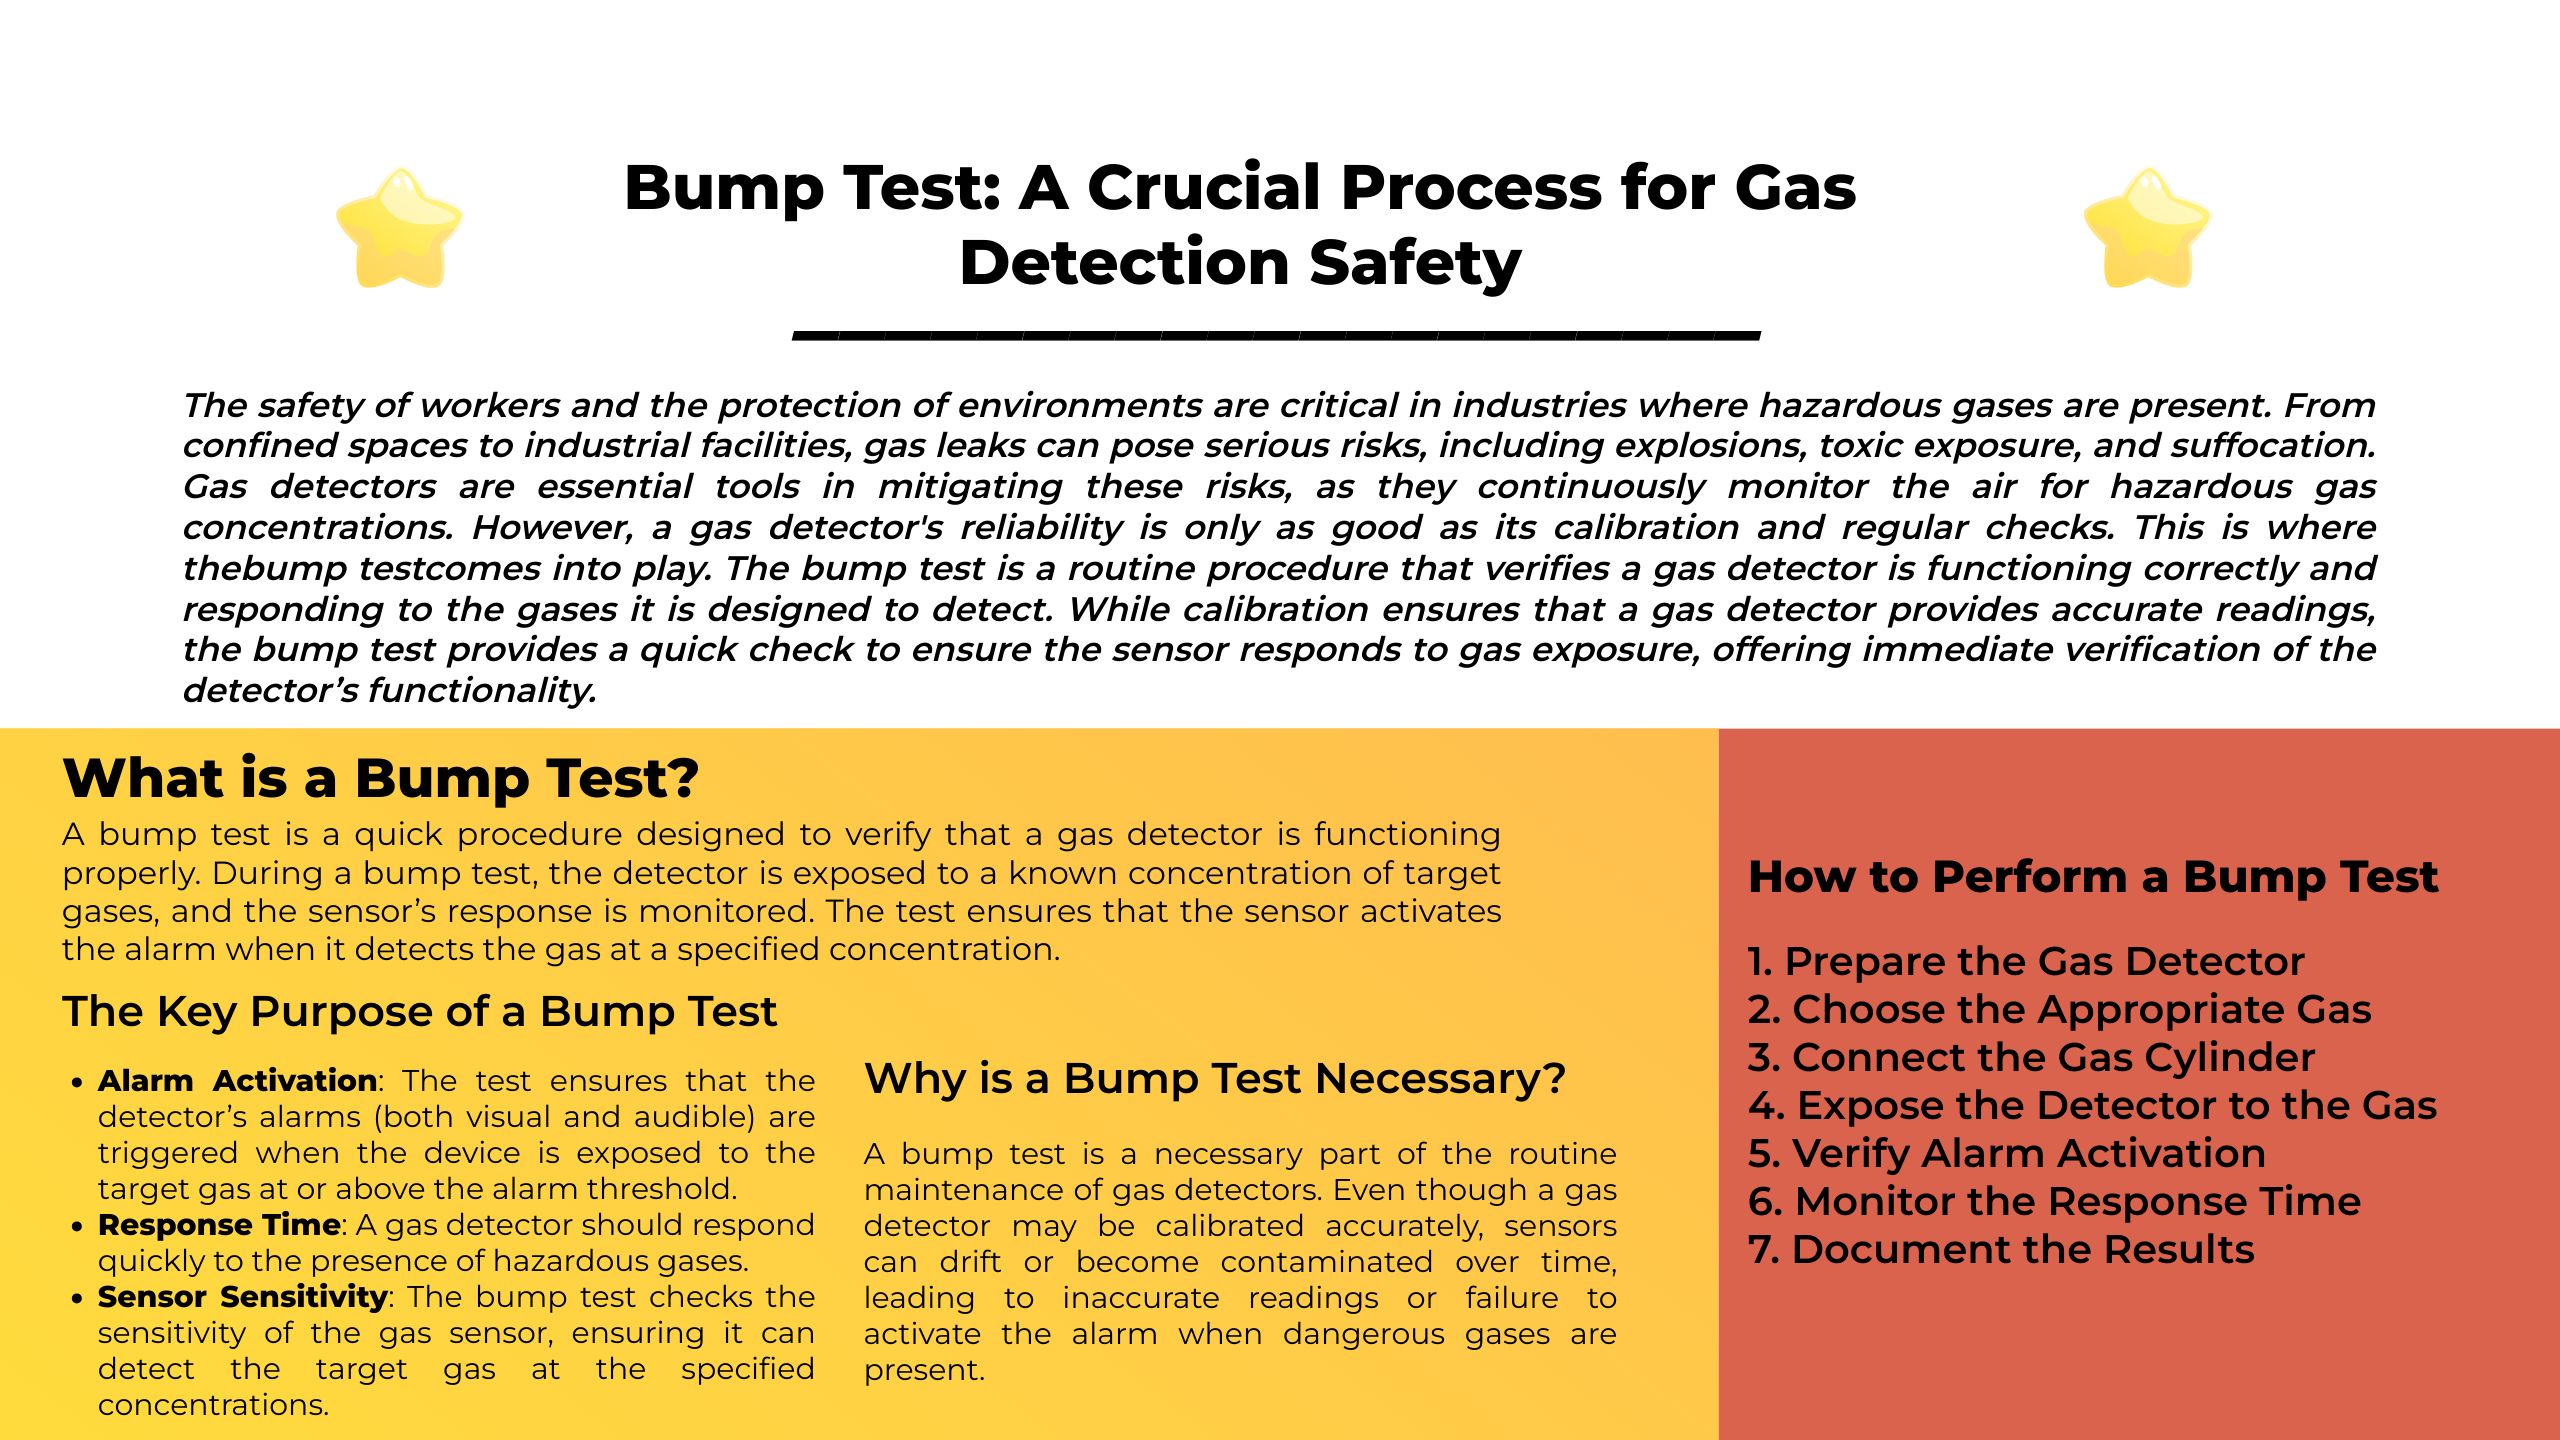
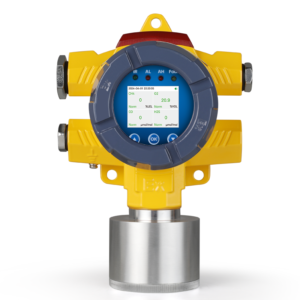
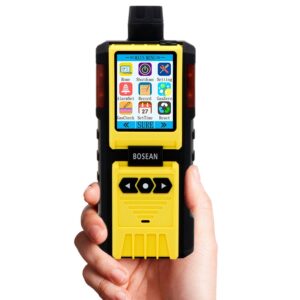
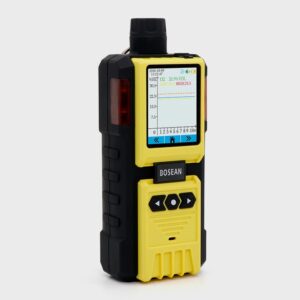
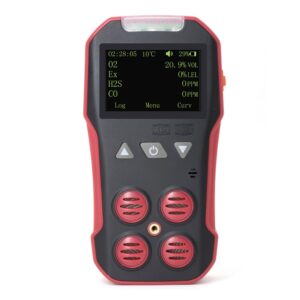
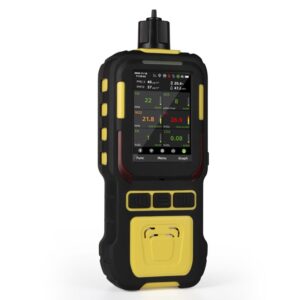
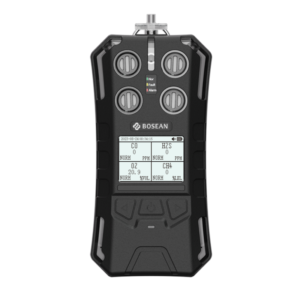
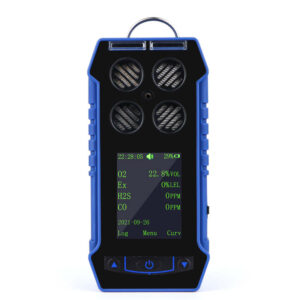
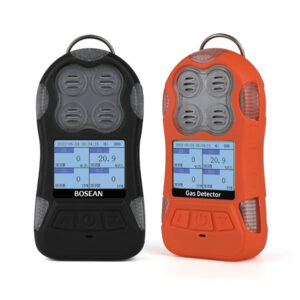
The safety of workers and the protection of environments are critical in industries where hazardous gases are present. From confined spaces to industrial facilities, gas leaks can pose serious risks, including explosions, toxic exposure, and suffocation. Gas detectors are essential tools in mitigating these risks, as they continuously monitor the air for hazardous gas concentrations.
However, a gas detector’s reliability is only as good as its calibration and regular checks. This is where the bump test comes into play. The bump test is a routine procedure that verifies a gas detector is functioning correctly and responding to the gases it is designed to detect. While calibration ensures that a gas detector provides accurate readings, the bump test provides a quick check to ensure the sensor responds to gas exposure, offering immediate verification of the detector’s functionality.
In this article, we will explore the importance of the bump test, the process of conducting it, the best practices, and the key differences between bump tests and calibrations. By the end of this article, you will have a comprehensive understanding of how the bump test is essential for the safety and performance of gas detection systems.
What is a Bump Test?
A bump test is a quick procedure designed to verify that a gas detector is functioning properly. During a bump test, the detector is exposed to a known concentration of target gases, and the sensor’s response is monitored. The test ensures that the sensor activates the alarm when it detects the gas at a specified concentration.
Unlike full calibration, which involves adjusting the sensor to ensure accurate readings over the entire measurement range, a bump test only checks whether the gas detector is responding to the presence of gas. It is generally a faster process that requires less time and effort than a full calibration, but it is equally critical in ensuring the reliability of the gas detection equipment.
The Key Purpose of a Bump Test
The key purpose of a bump test is to confirm that a gas detector is working properly, with particular focus on the following aspects:
- Alarm Activation: The test ensures that the detector’s alarms (both visual and audible) are triggered when the device is exposed to the target gas at or above the alarm threshold. This is critical for ensuring that workers will be alerted in time to take action if hazardous gas levels are detected.
- Response Time: A gas detector should respond quickly to the presence of hazardous gases. The bump test provides a check to ensure that the sensor detects gas in a timely manner.
- Sensor Sensitivity: The bump test checks the sensitivity of the gas sensor, ensuring it can detect the target gas at the specified concentrations.
Why is a Bump Test Necessary?
A bump test is a necessary part of the routine maintenance of gas detectors. Even though a gas detector may be calibrated accurately, sensors can drift or become contaminated over time, leading to inaccurate readings or failure to activate the alarm when dangerous gases are present. This can occur due to various factors such as:
- Sensor Aging: Gas sensors deteriorate with time and use, and their sensitivity may decline, which could lead to false negatives or delayed responses.
- Environmental Conditions: High humidity, temperature fluctuations, and exposure to chemicals can affect the performance of gas sensors, causing them to behave erratically.
- Exposure to Contaminants: If the sensor is exposed to gases or substances it is not designed to detect (such as silicones, dust, or grease), it may experience interference that impairs its functionality.
By conducting a bump test regularly, users can verify that the sensor is still operational and can detect gases within its specified detection range. In critical environments where gas exposure can be life-threatening, such as oil rigs, mining operations, or industrial plants, ensuring that the gas detection system functions properly is non-negotiable.
How to Perform a Bump Test
While the specific steps may vary slightly depending on the gas detector model, performing a bump test typically follows a standard process. Below are the general steps to conduct a bump test:
1. Prepare the Gas Detector
Before starting the bump test, ensure that the gas detector is clean and in good condition. Check for any physical damage or obstruction to the sensors. If the device is dirty, clean it according to the manufacturer’s instructions.
2. Choose the Appropriate Gas
Select the correct calibration gas for the bump test. This should be a gas that the detector is designed to monitor, and its concentration should match the detector’s alarm threshold. For example, if you are testing a detector that monitors oxygen, carbon monoxide, and hydrogen sulfide, you would need a gas mix containing those specific gases.
Ensure that the gas concentration used for the bump test is sufficient to trigger the alarm of the gas detector. Typically, bump tests are done using a gas concentration that is at least 30% of the lower explosive limit (LEL) for combustible gases or the threshold limit value (TLV) for toxic gases.
3. Connect the Gas Cylinder
Connect the appropriate gas cylinder to the gas detector. Ensure the regulator is set to the correct flow rate, typically around 0.5 to 1 liter per minute, depending on the manufacturer’s instructions.
4. Expose the Detector to the Gas
Expose the gas detector to the calibration gas for a short period (usually 20-30 seconds). The sensor will respond to the gas, and the detector should display the concentration level of the target gas. If the detector has visual and audible alarms, these should be activated once the gas is introduced.
5. Verify Alarm Activation
Check to ensure that both the visual and audible alarms are activated once the gas concentration exceeds the alarm threshold. This is the primary function of the bump test – to verify that the detector alerts the user to the presence of hazardous gas.
6. Monitor the Response Time
The gas detector should respond quickly to the gas exposure. Typically, gas detectors should detect gas concentrations and trigger alarms within 15-30 seconds. If the response time is slow or the alarm does not activate, further investigation and possible repairs or calibration may be needed.
7. Document the Results
Once the bump test is completed successfully, document the results. Some gas detectors have built-in memory that records the test results, which can be accessed through the device’s display or through specialized software. If the bump test was unsuccessful, it is important to mark this and perform corrective actions such as calibration, cleaning, or sensor replacement.
Bump Test vs. Calibration: Key Differences
Although the terms “bump test” and “calibration” are sometimes used interchangeably, they are distinct processes. It is important to understand the differences between the two and when each one is necessary.
Calibration
Calibration is the process of adjusting the gas detector’s sensors to ensure accurate readings across its full measurement range. During calibration, the sensor’s response is compared with a known concentration of the target gas, and adjustments are made if the readings are off. Calibration is a more in-depth process that corrects any drift or inaccuracies in the sensor’s response over time.
Calibration is typically performed less frequently than a bump test, and it is usually done when the detector is newly purchased or when there are significant changes in the environment. Calibration ensures that the detector provides accurate readings at all concentrations, from zero to the maximum gas level.
Bump Test
The bump test, on the other hand, is a routine check to verify that the gas detector’s alarm system is working correctly. While a bump test can confirm that the sensor responds to gas and triggers the alarms, it does not adjust the sensor’s accuracy or correct any drift. A bump test is quicker and simpler to perform than a calibration and should be done more frequently, often on a daily or weekly basis, depending on the application.
When to Perform Each
- Calibration should be performed when the gas detector is newly purchased, after significant exposure to extreme conditions, or if the sensor is not responding accurately.
- Bump tests should be conducted regularly to ensure that the sensor is still capable of detecting the target gas and activating the alarm. Typically, bump tests are done before each use, especially in environments where gas detection is critical.
Best Practices for Bump Testing
To ensure the effectiveness of the bump test and the reliability of your gas detector, follow these best practices:
Test Regularly
Perform bump tests regularly according to the manufacturer’s recommendations, and always before using the gas detector in hazardous environments. Some facilities or industries may require bump tests to be documented as part of safety protocols.
Use Certified Gas
Only use certified calibration gas for bump tests. The gas should be supplied from a reputable source and have the proper concentration levels specified for your detector.
Perform Bump Tests in a Controlled Environment
Conduct bump tests in a controlled environment with stable temperature, humidity, and air quality. This helps ensure that external factors do not interfere with the test results.
Record the Results
Document each bump test, noting the gas concentration, time, and whether the test was successful or not. This is important for compliance and safety audits.
Replace or Repair Faulty Sensors
If a bump test fails, do not continue using the gas detector until the issue is resolved. Replace or repair the faulty sensor or calibrate the device as necessary to ensure it functions properly.
Conclusion
The bump test is a vital process for ensuring the reliability and effectiveness of gas detectors in industrial and safety-critical environments. Regular bump tests ensure that gas detectors activate alarms when hazardous gases are present, protecting workers and facilities from potential dangers. By following best practices and conducting bump tests routinely, organizations can enhance workplace safety and maintain compliance with industry regulations.
How to Compare CO2 Readings Across Open-Plan Office Zones
Compare synchronized office-zone CO2 logs after checking monitor agreement, location, occupancy and air-system events; learn when a zone difference warrants investigation.
Read MoreHow to Read a Meeting Room CO2 Trend Against Occupancy

Read meeting-room CO2 trends with occupancy and ventilation events, distinguishing starting level, occupied rise, intervention and post-meeting decline.
Read MoreHow to Plan CO2 Monitor Placement in an Office
Plan representative office CO2 monitor locations by measurement purpose, occupancy and air paths, then verify positions and log context before using the data.
Read MoreDo Air Purifiers Lower CO2? Separate Filtration from Outdoor-Air Exchange
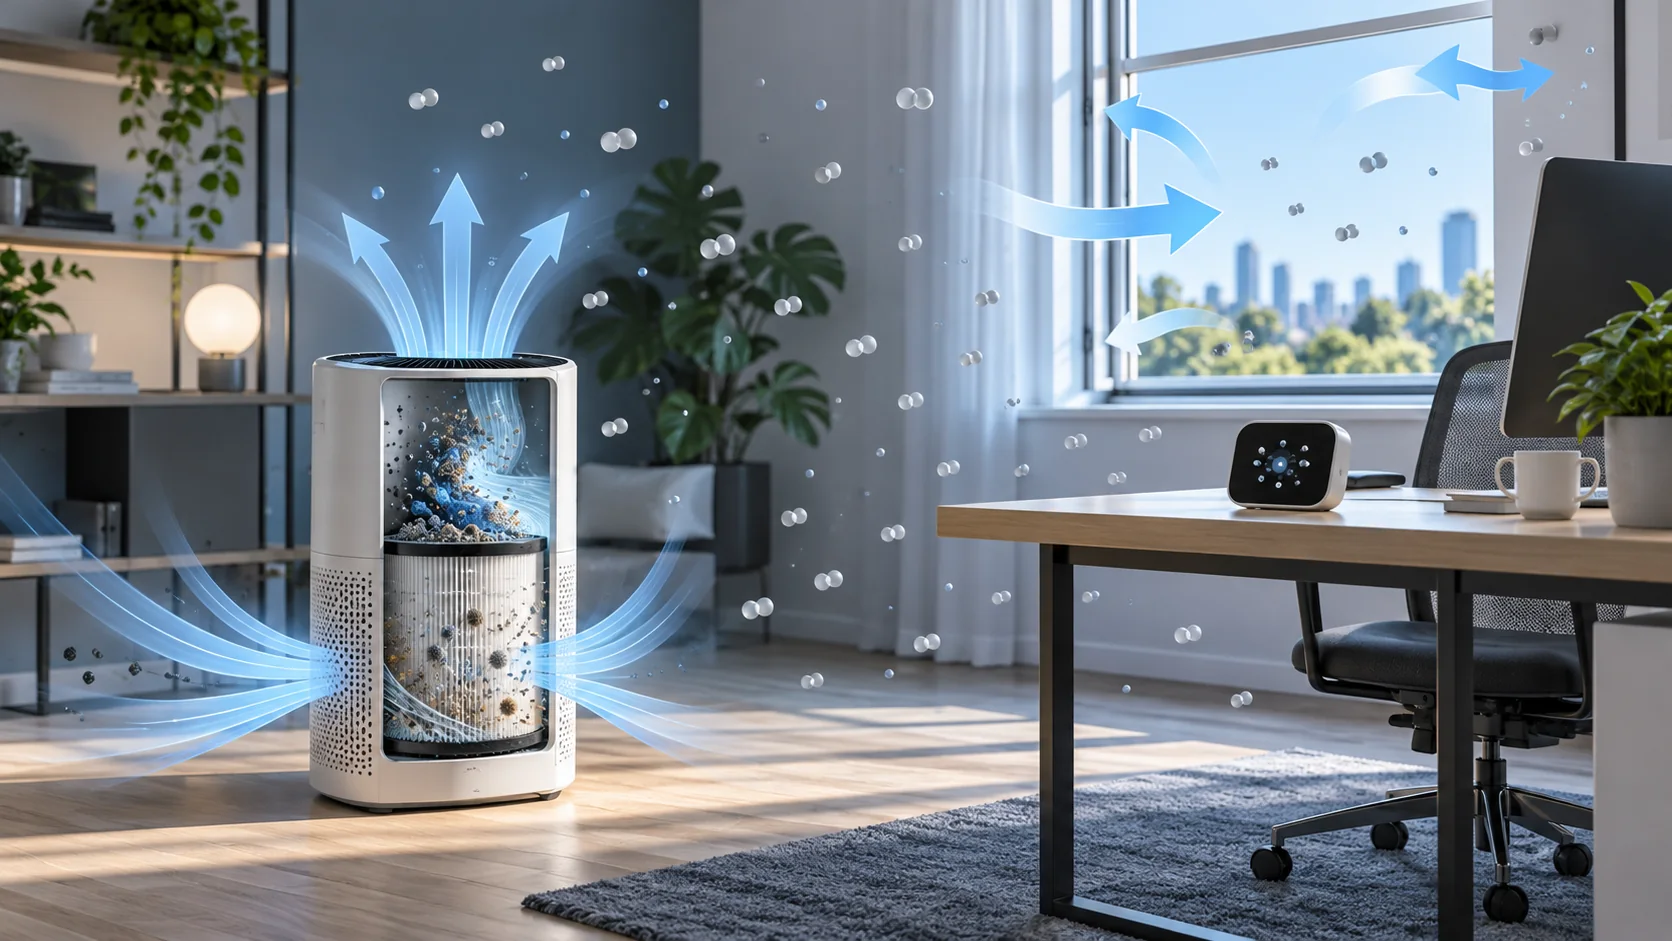
Ordinary HEPA purifiers capture particles but do not meaningfully remove occupant-generated CO2. Learn to separate recirculation, outdoor-air ventilation and monitor mixing effects.
Read MoreHow to Read an Overnight Bedroom CO2 Log
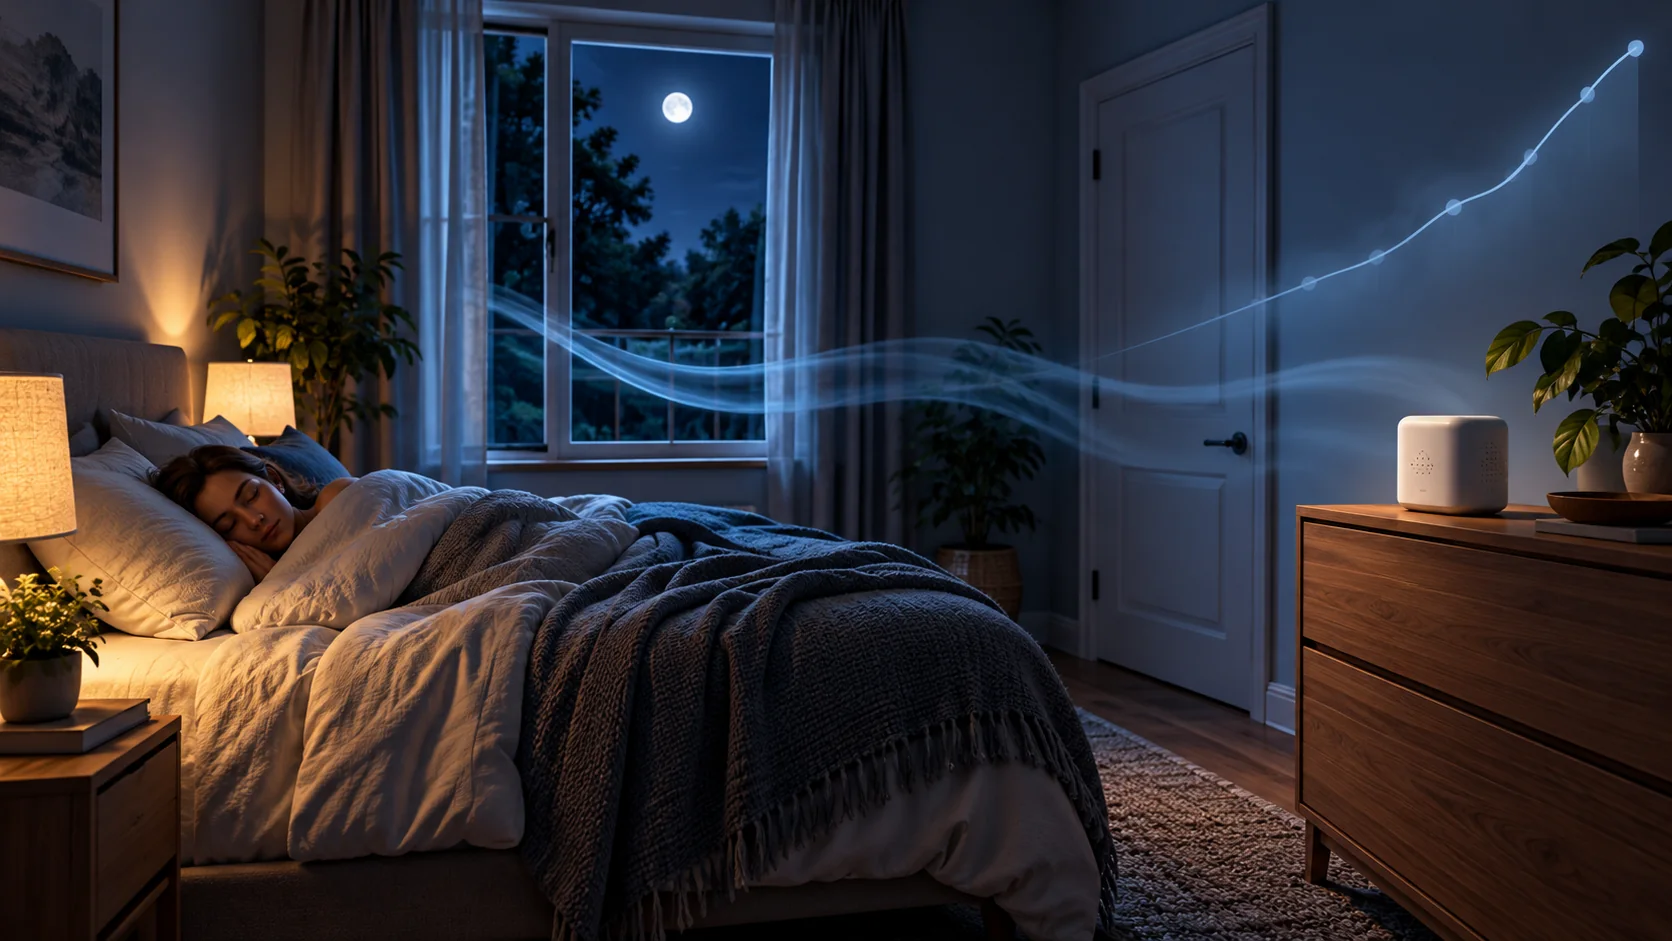
Interpret an overnight bedroom CO2 trace using its starting level, rise, plateau and morning response while checking logger quality, air paths and comparable nights.
Read MoreHow to Interpret CO2 Trends at Home: Read the Pattern, Not One Number
Learn how occupancy, outdoor air, room mixing and monitor placement shape a home CO2 trace, and use a repeatable log to test ventilation changes.
Read More


