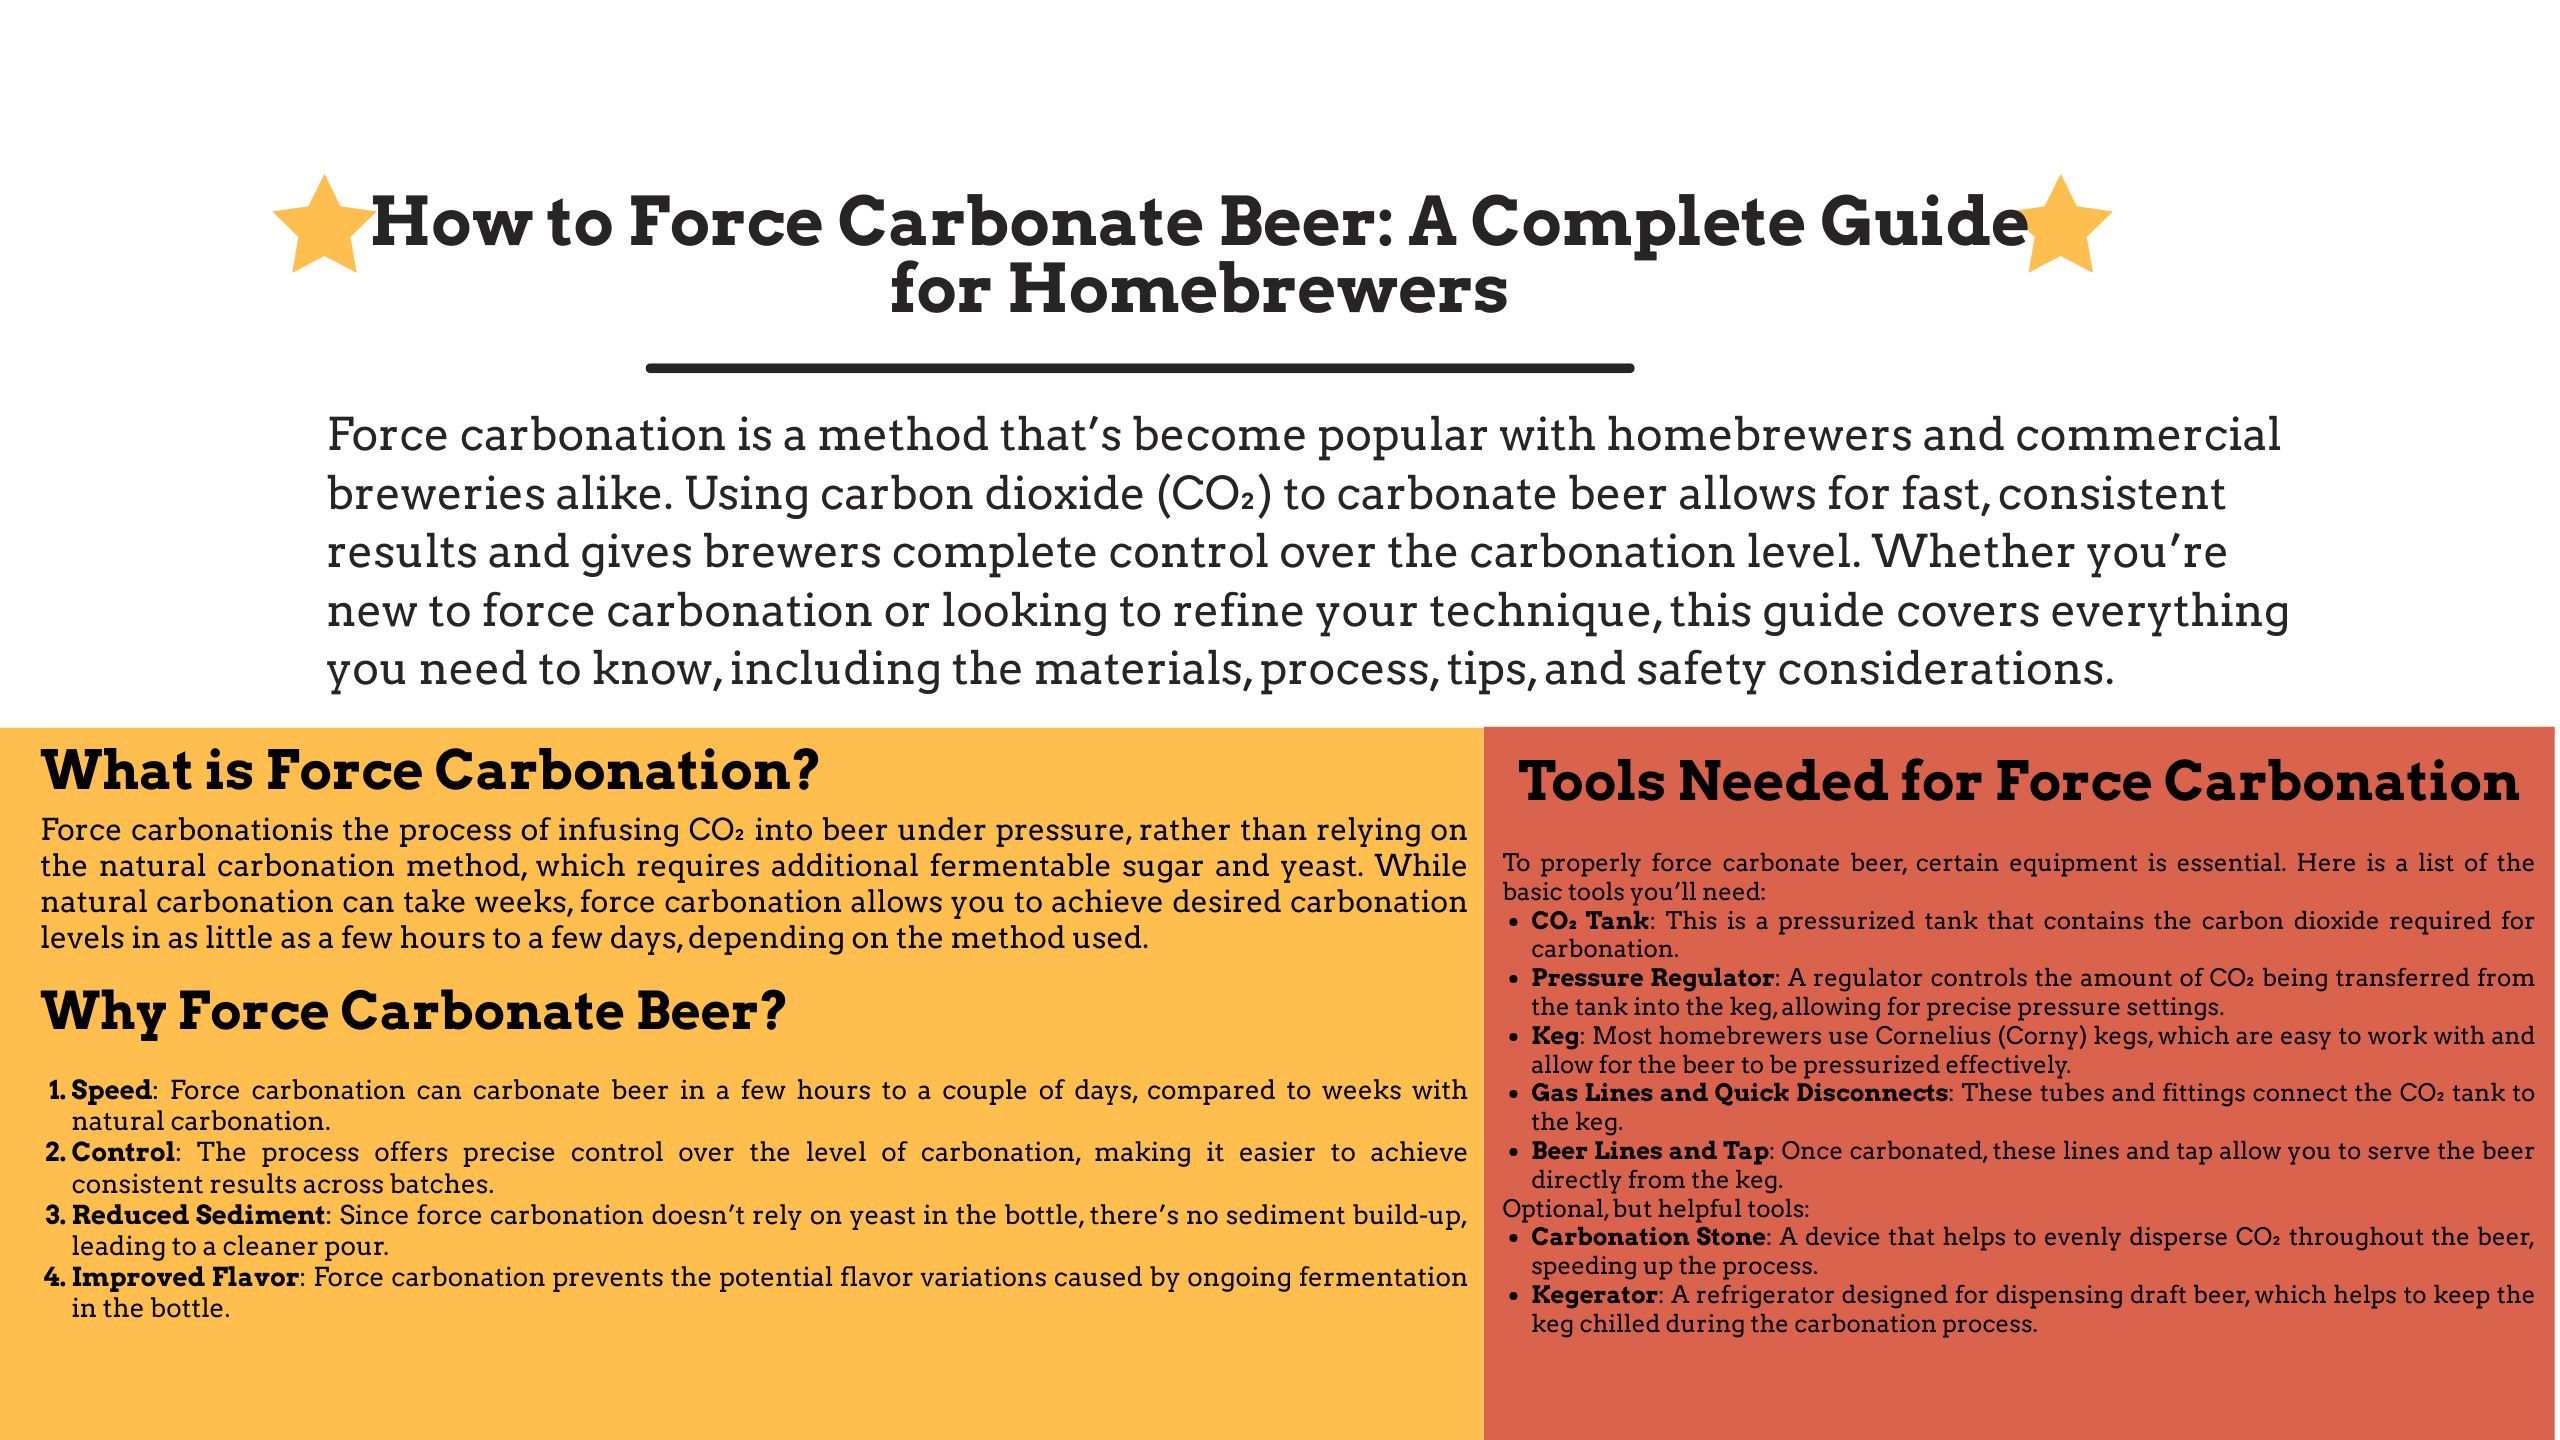
Force carbonation is a method that’s become popular with homebrewers and commercial breweries alike. Using carbon dioxide (CO₂) to carbonate beer allows for fast, consistent results and gives brewers complete control over the carbonation level. Whether you’re new to force carbonation or looking to refine your technique, this guide covers everything you need to know, including the materials, process, tips, and safety considerations.
What is Force Carbonation?
Force carbonation is the process of infusing CO₂ into beer under pressure, rather than relying on the natural carbonation method, which requires additional fermentable sugar and yeast. While natural carbonation can take weeks, force carbonation allows you to achieve desired carbonation levels in as little as a few hours to a few days, depending on the method used.
Why Force Carbonate Beer?
There are several reasons why brewers might choose force carbonation over traditional bottle conditioning:
Speed: Force carbonation can carbonate beer in a few hours to a couple of days, compared to weeks with natural carbonation.
Control: The process offers precise control over the level of carbonation, making it easier to achieve consistent results across batches.
Reduced Sediment: Since force carbonation doesn’t rely on yeast in the bottle, there’s no sediment build-up, leading to a cleaner pour.
Improved Flavor: Force carbonation prevents the potential flavor variations caused by ongoing fermentation in the bottle.
Choosing the Right Carbonation Level for Your Beer
Carbonation levels vary widely depending on the beer style. Here’s a quick guide to the carbonation levels for different types of beer, measured in volumes of CO₂:
English Ales: 1.5 – 2.0 volumes of CO₂
Stouts and Porters: 1.7 – 2.3 volumes of CO₂
Pale Ales and IPAs: 2.2 – 2.7 volumes of CO₂
Wheat Beers: 2.5 – 3.0 volumes of CO₂
Belgian Ales: 2.4 – 3.0 volumes of CO₂
Adjust the pressure on your CO₂ regulator accordingly to reach the target carbonation level for your style.
Tools Needed for Force Carbonation
To properly force carbonate beer, certain equipment is essential. Here is a list of the basic tools you’ll need:
CO₂ Tank: This is a pressurized tank that contains the carbon dioxide required for carbonation.
Pressure Regulator: A regulator controls the amount of CO₂ being transferred from the tank into the keg, allowing for precise pressure settings.
Keg: Most homebrewers use Cornelius (Corny) kegs, which are easy to work with and allow for the beer to be pressurized effectively.
Gas Lines and Quick Disconnects: These tubes and fittings connect the CO₂ tank to the keg.
Beer Lines and Tap: Once carbonated, these lines and tap allow you to serve the beer directly from the keg.
Optional, but helpful tools:
Carbonation Stone: A device that helps to evenly disperse CO₂ throughout the beer, speeding up the process.
Kegerator: A refrigerator designed for dispensing draft beer, which helps to keep the keg chilled during the carbonation process.
Force Carbonation Process
There are two primary methods of force carbonation: slow (set-it-and-forget-it) and fast (burst carbonation). Each has its advantages, depending on your timeline and carbonation goals.
Step-by-Step Guide for Force Carbonation:
Chill the Beer: Begin by cooling the beer to around 38°F (3°C). Cold temperatures allow CO₂ to dissolve more easily and effectively into the liquid.
Connect the CO₂ Tank to the Keg: Attach the gas line from the CO₂ tank to the keg’s gas-in post. Ensure that all connections are tight and leak-free.
Set the Pressure: Adjust the regulator to the desired PSI (pounds per square inch), depending on the carbonation level you’re aiming for. For most beers, this is between 10-15 PSI, though it can vary based on the beer style.
Choose a Carbonation Method (described in detail below):
Slow Force Carbonation (Set-It-and-Forget-It)
Fast Force Carbonation (Burst Carbonation)
Test and Fine-Tune: After the carbonation process is complete, pour a small sample to check the carbonation level. Adjust the pressure if needed and allow the beer to sit for additional time if more carbonation is required.
Serve and Enjoy: Once carbonation is at the desired level, reduce the PSI to the serving pressure (typically around 8-10 PSI), then pour and enjoy.
Fast or Slow Force Carbonation
Both the slow and fast methods of force carbonation have their pros and cons, so choosing the right approach depends on your specific needs.
Slow Force Carbonation (Set-It-and-Forget-It)
The set-it-and-forget-it method is straightforward and minimizes the risk of over-carbonation.
Steps: Set the PSI to around 10-15 (depending on the style) and let the keg sit in a cold environment for 5-7 days.
Pros: This method is almost foolproof, ensuring stable carbonation without the risk of over-carbonation.
Cons: Requires patience, as it can take up to a week to reach full carbonation.
Fast Force Carbonation (Burst Carbonation)
This method is ideal if you need to carbonate your beer quickly.
Steps: Set the PSI to around 30 and gently rock the keg back and forth for about 5-10 minutes. This agitation helps CO₂ dissolve faster. Then let it rest at high pressure for 1-2 hours before testing.
Pros: Fast results; carbonation can be achieved in hours instead of days.
Cons: Higher risk of over-carbonation if not monitored closely. You may need to release excess pressure if carbonation levels are too high.
Carbonation Stone Method (Alternative)
Using a carbonation stone provides faster and more even carbonation without the risk of over-carbonation. The porous stone allows CO₂ to disperse in tiny bubbles, which increases the surface area and speed of gas absorption.
Steps: Attach the carbonation stone to the gas line inside the keg, set the pressure to around 12-15 PSI, and let it sit for 24-48 hours.
Pros: Fast, even carbonation without much effort.
Cons: Requires additional equipment and setup.
Beer Carbonation Tips
Here are some expert tips to help you achieve the best carbonation results:
Start Cold: CO₂ dissolves better in cold beer, so always start with a chilled keg.
Adjust for Beer Style: Carbonation levels should match the style of beer you’re brewing. For example:
Lighter beers (e.g., lagers, wheat beers) typically require higher carbonation (2.5-3.0 volumes of CO₂).
Darker, heavier beers (e.g., stouts, porters) need lower carbonation (1.5-2.3 volumes of CO₂).
Avoid Over-Carbonation: If the beer becomes over-carbonated, you can reduce the pressure and release some CO₂ by pulling the pressure relief valve on the keg.
Monitor Carefully: If you’re using the burst method, monitor closely to prevent over-carbonation. Once the desired carbonation is achieved, reduce the pressure.
Invest in a Kegerator: A kegerator keeps your beer at the ideal serving temperature, which also helps maintain stable carbonation.
Common Mistakes to Avoid When Force Carbonating
Force carbonation may seem straightforward, but it can be tricky for beginners. Here are some common mistakes to avoid:
Over-Carbonation: Applying too much pressure or leaving the keg under high pressure for too long can lead to over-carbonation, resulting in foamy pours and an overly fizzy taste. Monitor the pressure and taste the beer periodically.
Insufficient Agitation: When using the burst carbonation method, make sure you gently agitate the keg. Insufficient agitation will delay the carbonation process.
Not Chilling the Beer: CO₂ dissolves better in cold beer, so make sure your beer is at a low temperature before starting.
Incorrect Pressure Settings: Make sure your pressure setting matches the desired carbonation level for your beer style. Setting it too low can lead to under-carbonation.
CO₂ Gas Detectors for Brewery Safety
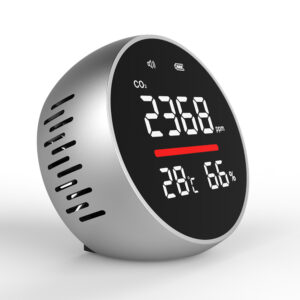
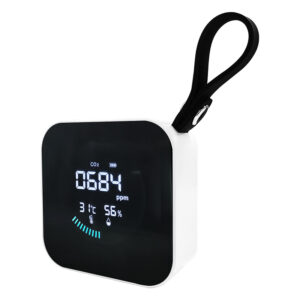
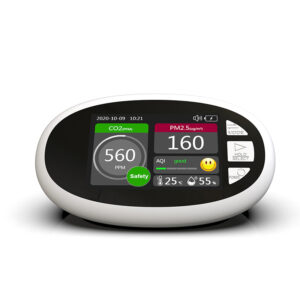
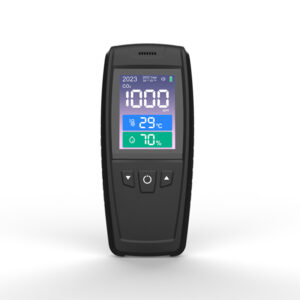
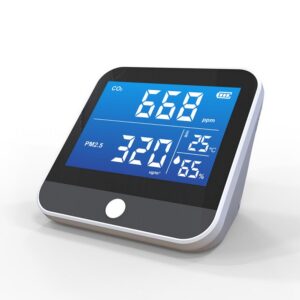
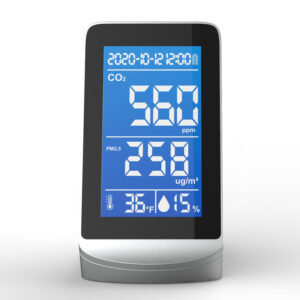
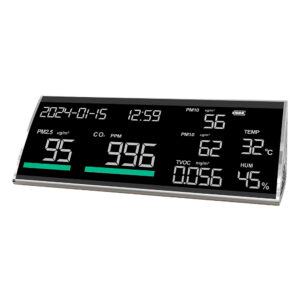
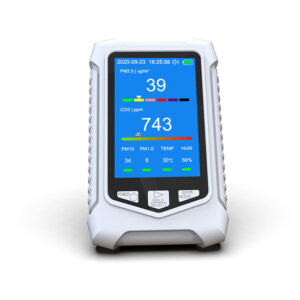
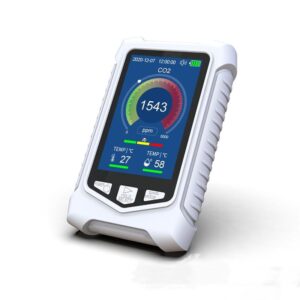
While CO₂ is essential for carbonation, it’s also a potentially dangerous gas. In confined spaces or large brewing facilities, CO₂ buildup can lead to asphyxiation due to oxygen displacement. Installing CO₂ gas detectors is essential for any brewery setup, as they provide real-time alerts in case of elevated CO₂ levels, helping to prevent accidents.
Benefits of CO₂ Gas Detectors in Breweries
Early Warning System: CO₂ detectors alert you to dangerous levels of gas, allowing for quick action.
Compliance: Many local safety regulations require CO₂ detection in brewing facilities to protect workers.
Health Protection: CO₂ is colorless and odorless, so without detectors, high concentrations can go unnoticed.
Placement of CO₂ Detectors
Position detectors near CO₂ tanks, pressure regulators, and kegging areas.
Consider installing multiple detectors if working in a larger space or a homebrew setup where ventilation may be limited.
After perfecting the carbonation process, you can enjoy your beer at its optimal taste and mouthfeel. Here’s how to ensure your carbonated beer remains at its best:
Serve at the Right Temperature: Temperature affects both carbonation and taste. For most beers, serving between 38-45°F (3-7°C) provides the ideal balance of carbonation and flavor.
Store Correctly: Keep your carbonated beer cold to maintain freshness. High temperatures can cause CO₂ to escape, leading to flat beer.
Use a Proper Tap System: Investing in a quality tap system reduces foam and ensures a steady pour.
Final Thoughts
Force carbonation offers a convenient and efficient way to carbonate beer, providing brewers with full control over the carbonation process. Whether you choose the slow set-it-and-forget-it method or the faster burst carbonation approach, force carbonation enables consistent, high-quality results. Always prioritize safety by using CO₂ gas detectors, and make sure to fine-tune your technique based on the beer style and your personal preferences.
With these steps and tips, you’ll be well-equipped to produce perfectly carbonated beer that you, your friends, and your customers can enjoy.